| [ Refurbishing Quad ESL 57 ] |
Sooner than expected I have had time to proceed with the cleaning process of the Quad ESL 57. 8 hours, non stop to clean both units. Basically, I have done a full cleaning of the panels and the frame without changing any part, like the EHT units for example. Perhaps after the listening sessions I will consider to change these units. I have taken many pictures of the whole process and due to its high number I have decided to create this new section where you could read and see everything. Each picture has a little explanation of the operation shown. Remember that before doing the cleaning of the ESL, the units MUST be disconnected at least for a day and that before reconnecting them you have to wait another day. So, three days: pre-cleaning, cleaning and post-cleaning. Also remenber that you must be very carefull when cleaning the panels because of their fragility. Ok, let's go.
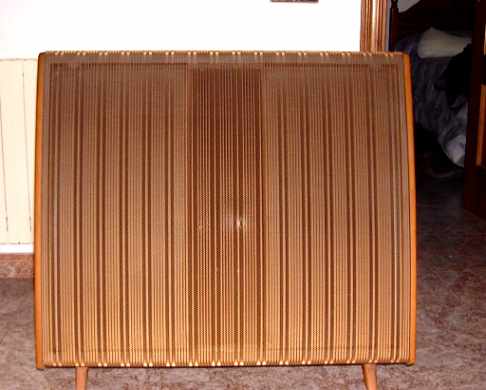
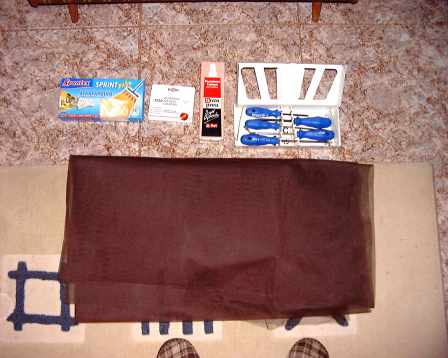
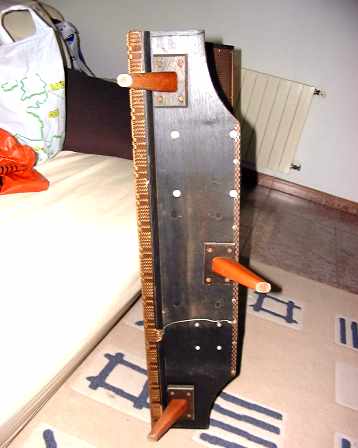
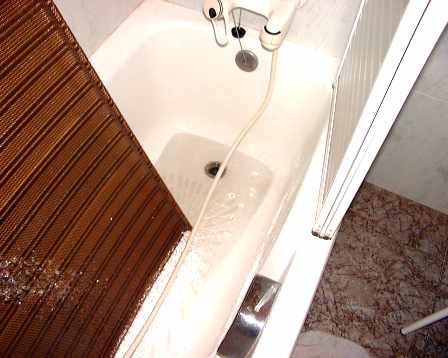
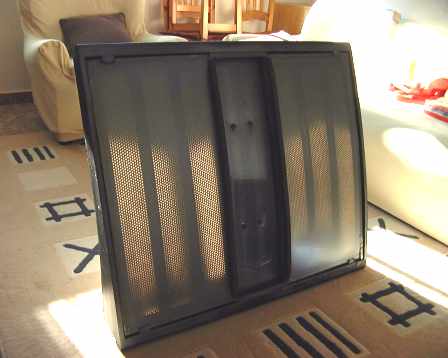
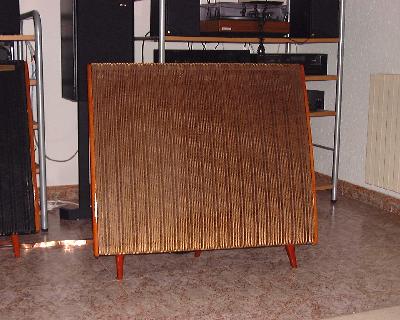
The Quad ESL 57 before begining the process. You can see a dark part in the center of the front grille. It is dust. On the rigth hand picture the tools: cloths, stapples, glue, screwdrivers. Add to this a vacuum cleaner and more cloths. The rectangular dark piece is a cloth like the used in brides dresses. It stops the dust from reaching the panels and doesn't affect the sound..
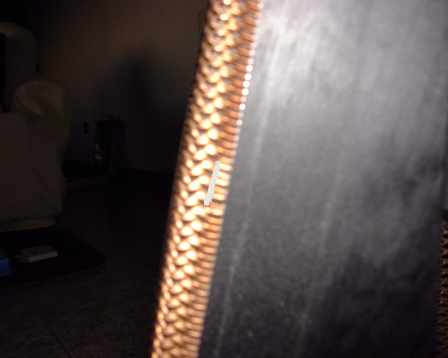
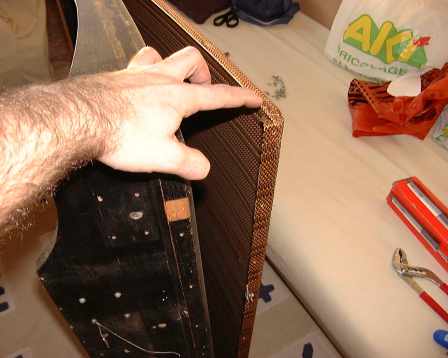
We begin by removing the two pieces of wood from the sides of the panel. After that we can remove the stapples (rigth hand picture) used to hold the grille to the frame.
The speaker on its side, ready to unscrew all the screws located on the lower side of the front grille.
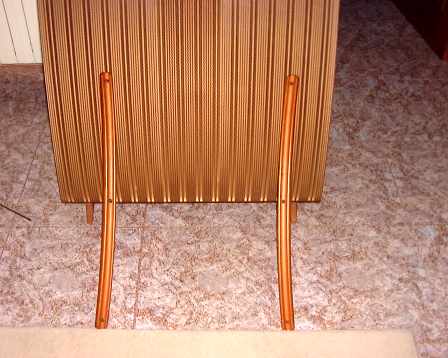
Take special care in disconnecting the earth screws attached to the font and back grilles. If you can't unscrew them, you must unsolder them with a solder. After that, remove the three feet of the speaker.
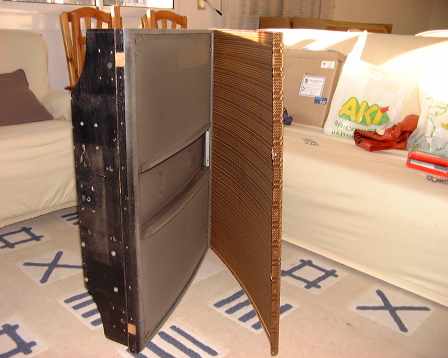
Unscrew all the screws of the back grille. Be patient, there are a lot of them. After doing that, you can remove the back grille with care. The panels are very fragile and the grille can cut them.
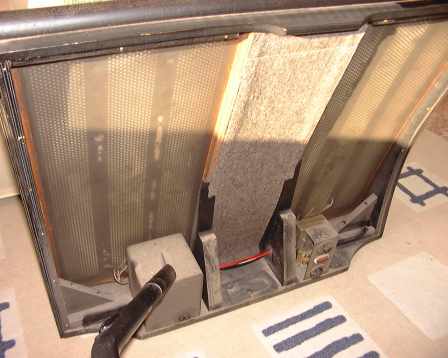
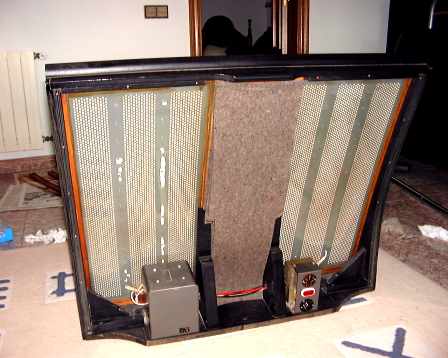
A detail of the back side of the panels after removing the back grille. On the rigth hand side you can see the EHT unit. This example is
encapsulated inside an epoxy-like enclosure. This type of units can't be disassembled in order to replace the diodes and other electronic parts used in this circuit. It has to be totally replaced if needed (you can find the EHT circuit schematic in Sheldon Stokes' web site). There's another type of EHT circuit fitted inside bees-wax. This type can be easily replaced by removing the capsule and by putting it in a pyrex tray inside a hot oven and waiting the bees-wax to be liquid. After that the circuit can be removed and all the parts replaced. After doing that the circuit must be encapsulated again using bees-wax and mounted where it was before.
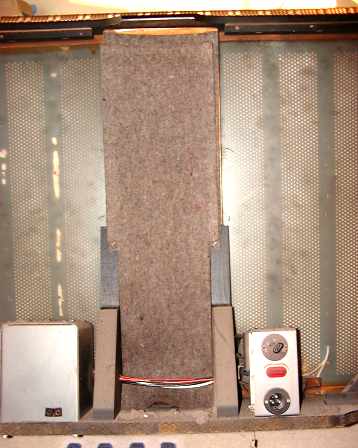
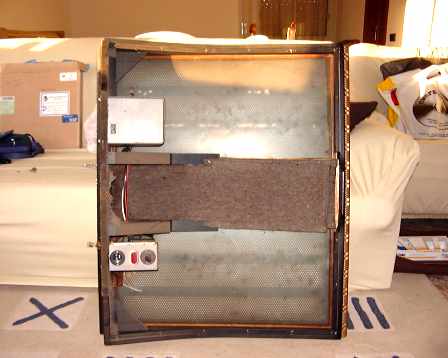
On the left hand side you can see the audio transformer. From serial number 16.800 (1966) the design of this transformer was changed by adding a protection circuit to allow the ESL 57 to be used with the new Quad amplifier, the 303. This modification was designed to prevent the damage of the treble panel (arcing) due to the excess of power of the new amplifier. On the rigth hand, a general view of the back side of the panels. Under the felt it is located the treble panel.
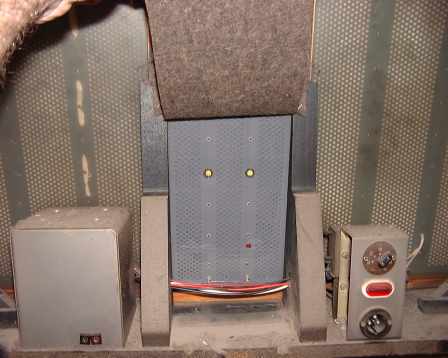
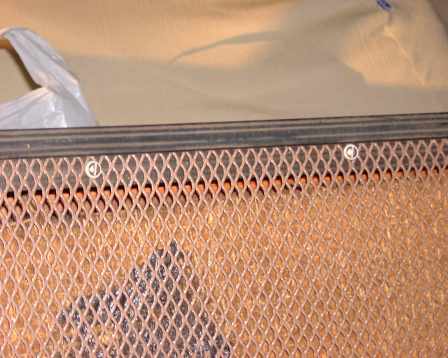
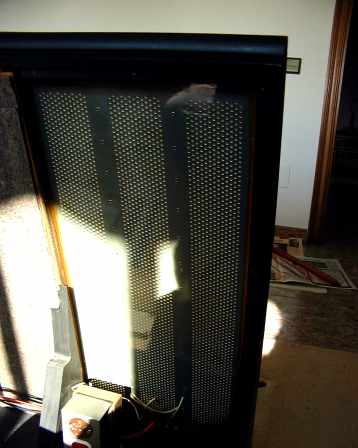
Ale Hop! The back side of the treble panel. As you can see it is cleaner than the bass panels on its sides. The felt is used to protect the panel and to prevent the panel from irradiating backwards. There are many 57's owners that remove this felt because they say that the sound is better. Even, they use the ESL without grilles. But this is dangerous due to high voltages present on the panels (6000 volts). On the rigth hand picture a detail of what you'll find inside the panels. Dust! The working principle of the ESL is electrostacic charge and this attracts dust.
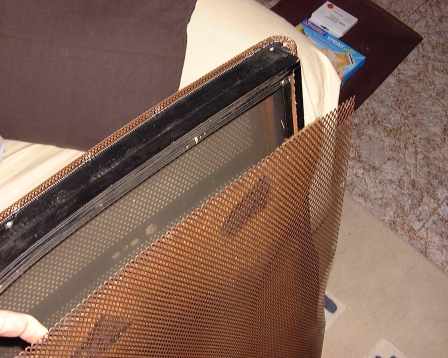
Removing the front grille after all the stapples and screws have been removed. Be careful when doing this because the grille may cause damage to the fragile panels.
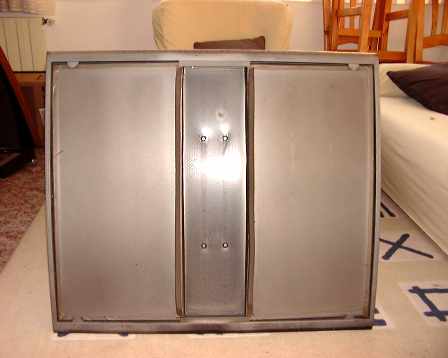
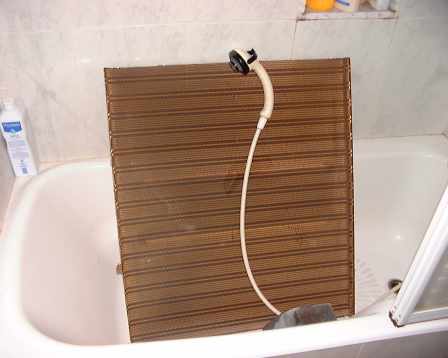
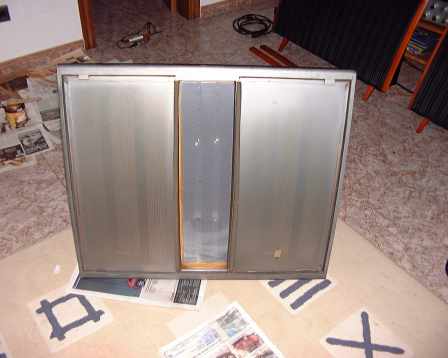
The speaker without the front grille. You can see the bass panels on both sides of the treble panel (in the middle). All covered with a layer of dust. On the rigth the front grille taking a bath. Remember, there's a lot of dust.

The water is black!! On the rigth hand photo the wood sides and the feet ready to be painted under the supervison of the Marx Brothers.
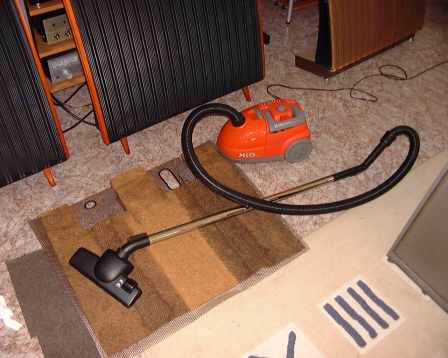
If you have any problems when removing the dust, a vacuum cleaner will be very useful. Use it on the back grille and inside the frame. But with care.
A wet cloth is the most important tool when cleaning the ESL. On the left hand photo you can see a partially cleaned frame (painted in black). The white part of the frame is covered with dust. On the rigth hand photothe front panels covered with dust. Clean everything usign the wet cloth. Panels, frame, etc, etc. The panels must be transparent. Remove the first layers of dust with a wet cloth. Clean again the panel with a cleaner cloth and finally use another dry cloth to remove the humidity from the panel. If you find a little scratch on the panel, you can repair it usign adhesive transparent tape. If the scracth is more like a hole, consider reparing the panel by removing it from the frame. But this is another story...
The cloth has cleaned every part and all is clean and dry. Please be sure that everything is perfectly dry. Some rays of sun will help, but if you live in a country with more clouds than sun, use a cotton cloth or cellulose. As you can see the panels are transparent.
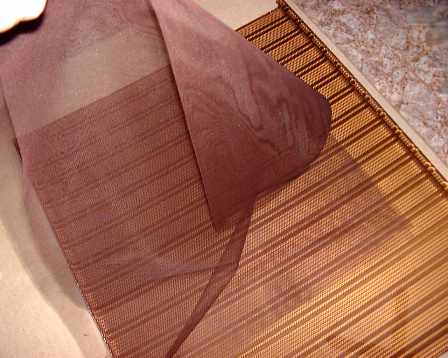
The front panels clean at least. There's a big difference. On the rigth hand photo the piece of cloth used to filter dust ready to be fitted inside the front grille.
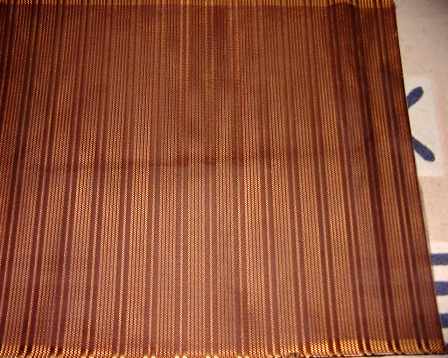
The "filter" fitted. Use some kind of adhesive to fix it to the grille. On the rigth hand photo the ESL after all the cleaning process. 8 hours for both panels..
Remember what I say at the beginning. Be careful. Disconnect the speakers a day before doing the cleaning. Never clean the speakers just after disconnecting them. The panels are fragile, so take care. Clean all the parts of the speaker ( panels and frame). Dry every part as well as you can. Wait a whole day before reconnecting the panels. In doing this you will be sure that everything is perfectly dry. If you see a scratch on the panel repair it using transparent tape. If the scratch is big, consider to repair the whole panel.
If you need any additional information, please send me an email..
I have auditioned my new pair of ESL 57. Basically.....They doesn't sound. Well, they sound low. This is one of the most frequent problems with the ESL 57. It could be produced by two factors. First, due to the age of the components used in the rectifier circuit of the EHT units, mainly the diodes and resistors. Second, due to the coating of the panels. This coating tends to loose properties with the years. But this has not happened in my units. The panels look OK and I think that the problem come from the rectifiying circuit of the EHT unit. So, I have decided to replace all the components in these circuits. To do this I have disassembled both EHT units. One of the rectifier circuits is encapsulated in bees wax and the other one in an Epoxy-like capsule. So, the following images describes the process of dissassembling the unit inside the bees wax. The circuit inside the Epoxy is not accesible and must be replaced with a completely new one. Sheldon Stokes has a replacement circuit for this rectifier unit and more information about refurbishing the Quad ESL (see link above). To proceed with the disassembling process you will need: a screwdriver, a soldering iron and a towel. Let's begin.
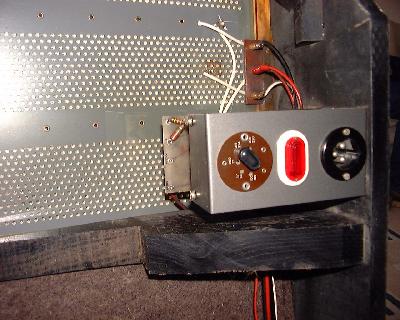

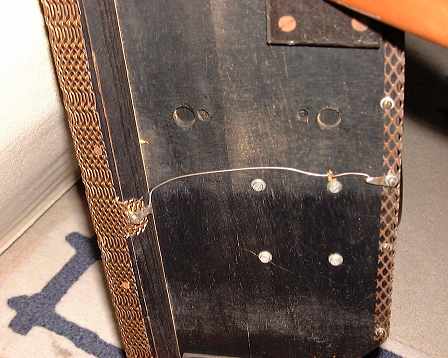
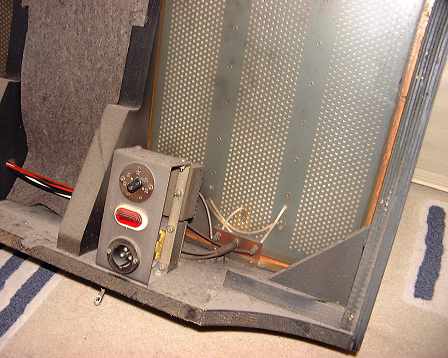
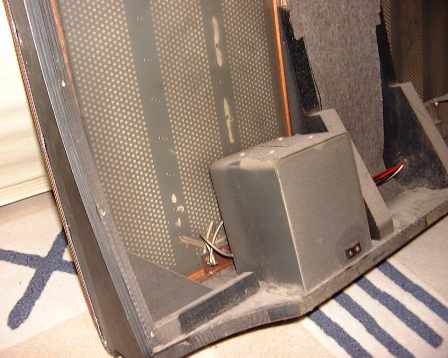
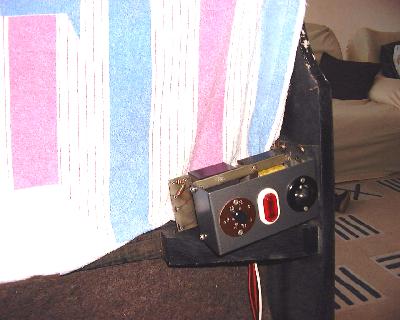
Here you have the EHT unit. It is located on the rigth hand side, at the back of the ESL. First, to acces the unit, you have to remove the back grille following the steps described above. Remember, be careful. My suggestion is that you put the the speaker on its side, in vertical position, with the EHT unit facing to you. Also disconnect the earths of the EHT that are connected to the grilles. If you can't disconnect the earth connections, you have to unsolder them. Next, unscrew the four screws that fix the EHT unit to the speaker frame. Be careful with the nuts. Thay can fall inside the speaker and this is bad.
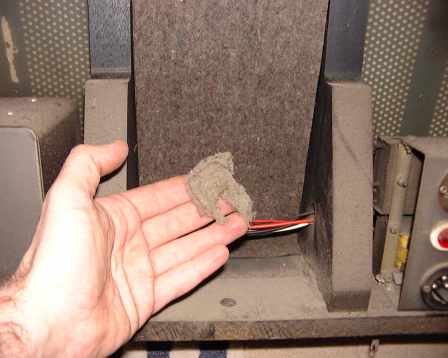
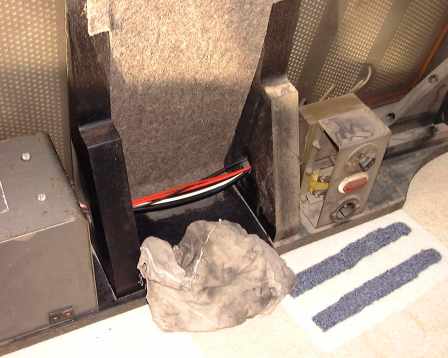
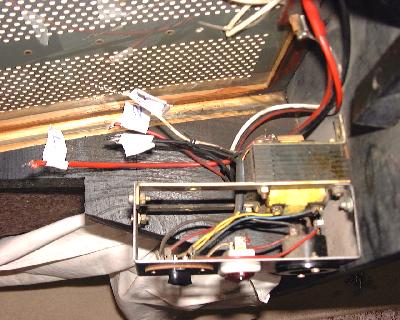
When the EHT unit is free, put it far away from the panels (as far as wire length allows). Remember that the panels are fragile. On the rigth hand image a detail of the wires connected to the rectifier circuit of the EHT unit. From back to front: bass panel wire (big red), treble panel wire (thin red), earth wires (black) and power supply wire (white).
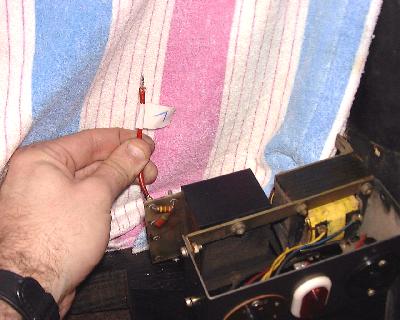
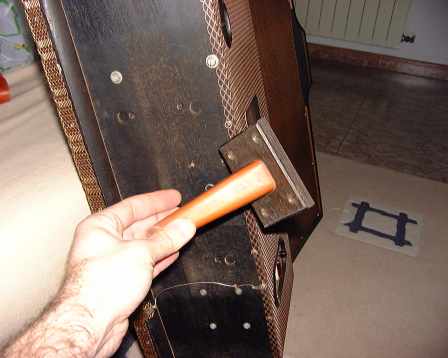
Before using the soldering iron, protect the panels with a towel or similar. A little solder drop on the panels, and you will see the end of your ESL dust cover. If you prefer, you could use the towel from the beginning of the process. Unsolder the wires with care and in order. Mark all the wires to remember their position.

After the unsoldering process, you could disassembly the capsule where the EHT rectifier circuit is fitted (left image). You can also disassemble all the EHT unit, it's your choice. To remove the circuit capsule from the EHT chassis, you have to unscrew two nuts fitted on plastic screws. Be careful because the plastic screws are fragile. On the rigth hand side you could see the wires marked in order to remember their original position when reassembling the units.
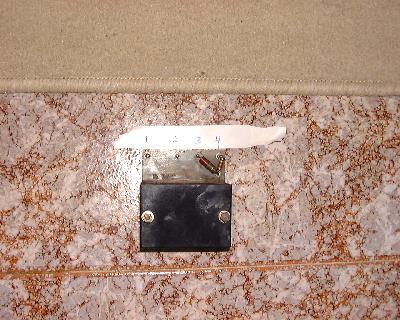
On the left hand side image the capsule where the rectifier circuit is fitted. Wires positions have been marked. In this unit the circuit was fitted inside bees wax. To remove bees wax the best choice is to "cook" the capsule in an oven, until wax melt.
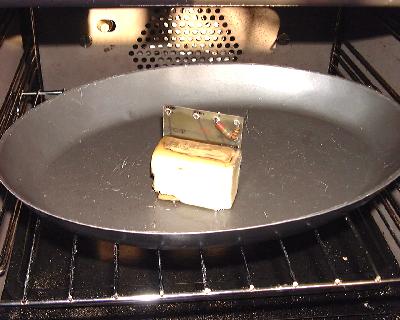
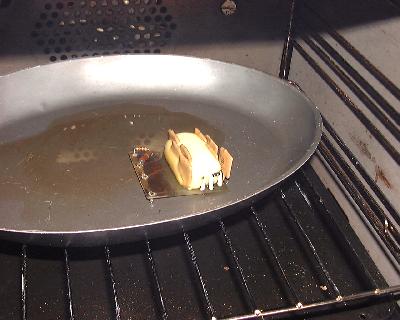
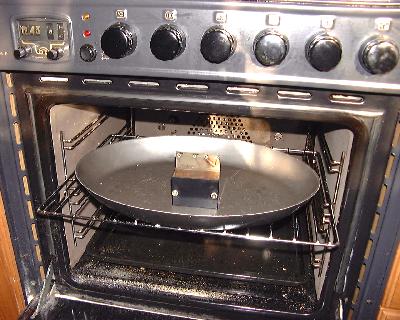
In these two images you could see the bees wax melting inside the oven. While melting the electronic parts will appear (diodes, capacitors and resistors).
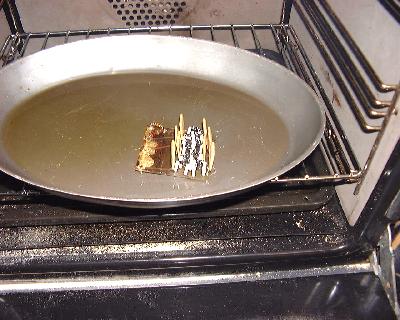
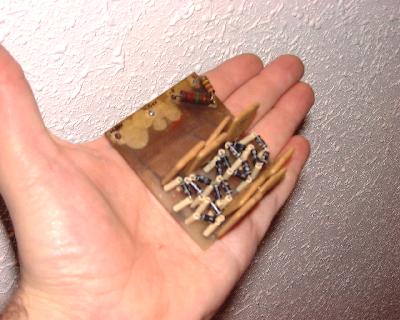
On the left hand side image all the wax is melted and on the rigth hand side image you could see the circuit ready to be repaired.
After disassembling the EHT unit encapsulated in bees wax, I bougth all the new electronic parts to replace the old ones (very cheap). Also I have concentrated my attention in finding a new circuit board for the unit fitted in Epoxy (Sheldon Stokes has a new design in his page). I have asked my friend Ignacio Zozaya (see AN-Band section) and he has offered himself to do all the work for me. Not only replacing the old electronic parts, but changing both circuit boards with a new ones using Sheldon Stokes desing. I'm not as good as Ignacio in electronics (in fact, I'm really bad), so I have packed everything (EHT units, new electronics parts, etc) and I have sent them to him. Ignacio is repairing his Quad ESL 57 speakers and has a deep knowledge on this matter. When the units come back from Madrid (where Ignacio lives) I will show you some photographs of the final result. Keep tuned.
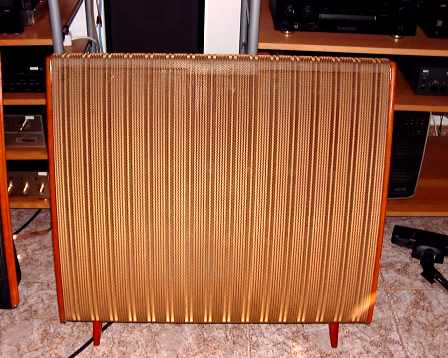
March 12th, 2001- Incredible!!! The EHT units have been repaired by Ignacio Zozaya. Two days ago I received the units and this last week-end I have installed in the ESL 57. The Quads have again its original sound. Exceptional. With only a few bucks and the job of Ignacio and myself I have my ESL working again.
I have spent a whole morning listening the units and they sound absolutely wonderful. As always, some photographs of the process.
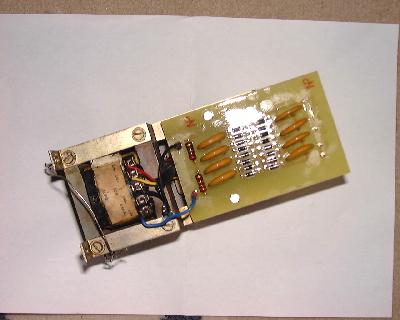
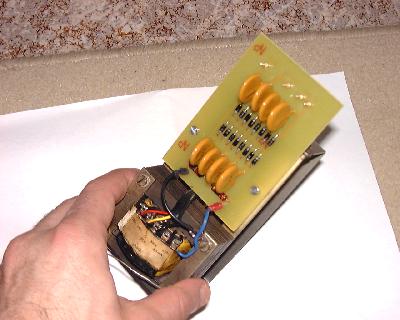
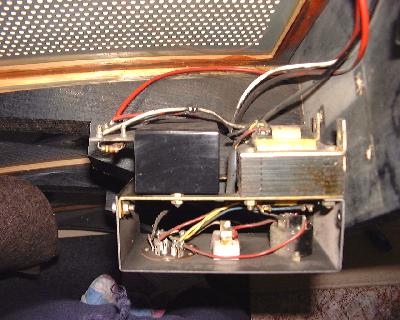
Here you can see the new EHT units fitted with the new rectifiction circuit. It is based on a Sheldon Stokes desing (see links page) and Ignacio has soldered all the components on it.
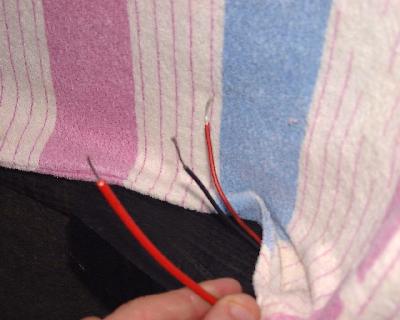
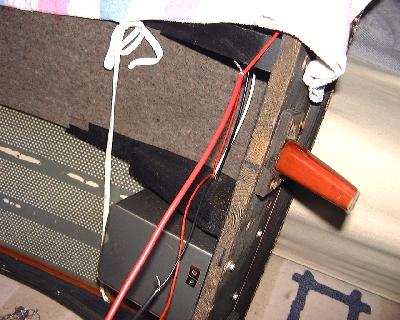
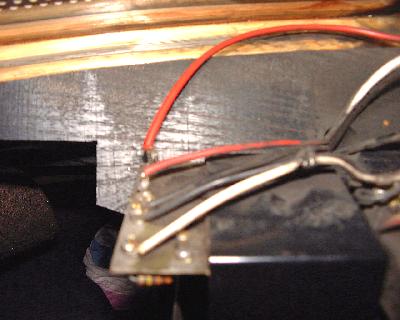
As you remember we work with the units in vertical position, with the EHT unit facing to us. Also remember to cover the panels with a towel or similar in order to prevent damage to the panels when soldering. Here you can see the cables that must be connected again to the EHT unit. On the rigth hand side image I have added extra runs of cable to the existing ones to ease the soldering process.
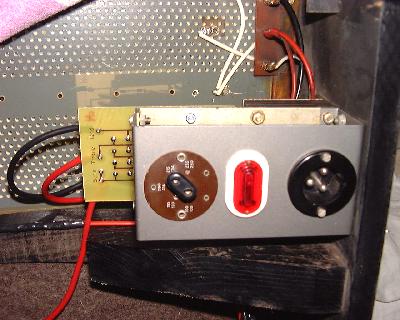
When the cables are soldered, put te EHT again in its original position in the speaker frame. Close the back of the speaker using the back grille and that's all. The final result is amazing. All the sound of the Quad ESL 57 again for the listener.
June 15th, 2007- If you need new EHT units for your Quad ESL57 speakers like the ones you have seen above, I recommend you to contact Ignacio Zozaya at Audio Clásico, his web site. He offers different options for restoring the Quads. As you now, I have used his units and I can tell you that they're excellent.
Return to previous page