| [ DIY Turntable Project ] |
© Santiago Carreras. 2005
Just a few words to introduce this project. As you already know the DIY world is playing an important role in the audio world. Audiophiles all around the world start DIY audio projects to build those equipment that reflects their own personality and audio concepts. Most of these projects are as best as comercial products, even better. The project that we present here in one of this. This turntable shows us that it is possible to build DIY audio projects of excellent quality. I hope that you will find interesting the article and that you will enjoy Santiago's work. And of course, I encourage you to do something similar.
Regards
Ernest Ruiz
Introduction
I have always had a deep respect for hifi diyers, those who build their own hifi equipment, in special those who we could name as the "eastern masters", the japanese, with their well known abilities.
Those people have to be respected not only for their knowledge and abilities but also for the size of their projects. It is very common to see those diyers showing their self made equipment in the hifi magazines where they explain all the process that they have followed to do them: why they have built such equipment, every step in the construction process, the materials used, etc.
Maybe you would agree with me if I say that many of those hifi lovers are also pasionate about tube equipment (specially SETs), high efficiency speakers, full range speakers, etc. And, also, if I say that they are analog lovers.
Back to my project...I must admit that I never planned to build my own turntable because I already owned one. But at the beginning of 2005 in a spanish audio forum somebody exposed the idea of building such equipment. And I asked myself, why not?.
When I began thinking about building my own tuntable I had two main ideas in my mind. First, my turntable should be in many ways "different" to any other turntable that we can find in the market. It must be clearly seen that it was self-made but also beautiful. Second, the total budget for building the turntable should not exceed 1000 . This was very important to me because building a turntable with unlimited budget it's easy. The challenge was to build a good turntable with limited budget. And that was my challenge!
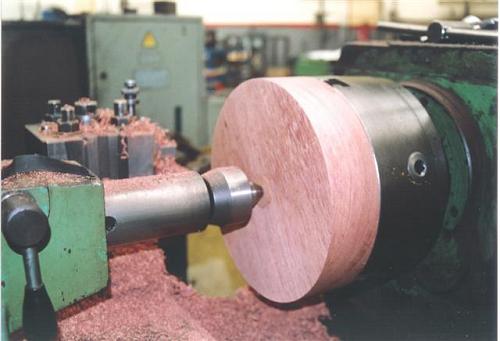
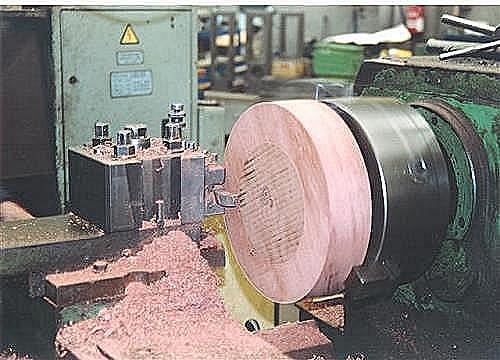
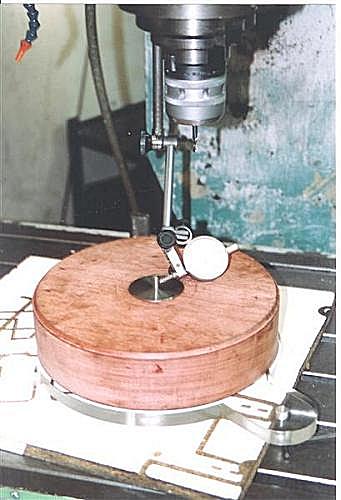
With this two ideas in mind I began to got as much information as I could about materials for building the turntable. Searching the net, I realized that the platter should be as robust and compact as possible, with a low resonance level and a low, and as far from the center as possible, gravity center.
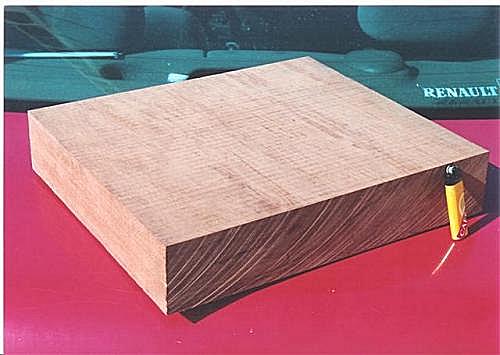
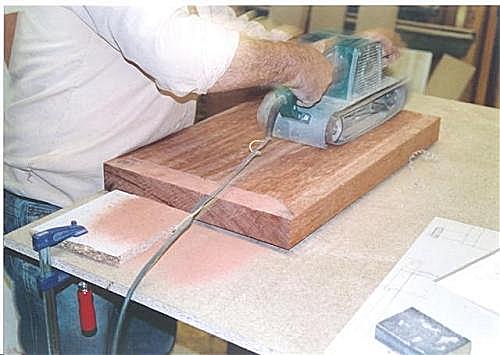
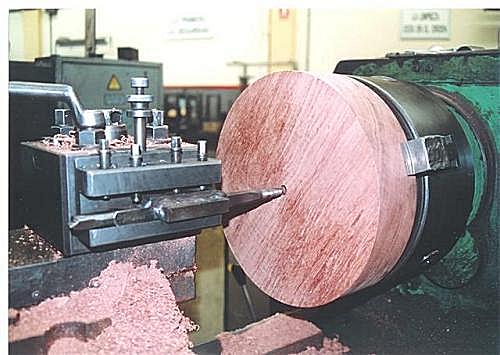
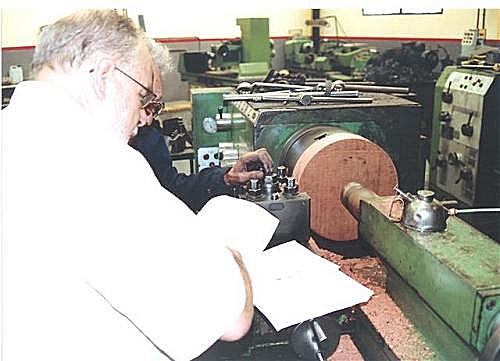
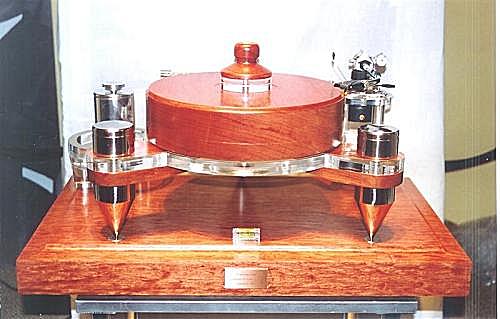
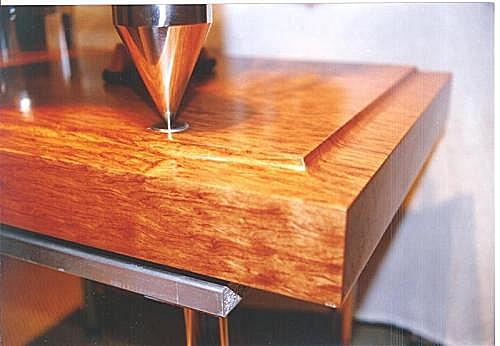
The most common materials used by high end turntable manufacturers are steel and perpex. As I said before I decided to made my turntable as different as possible so I decided to build the plater in solid wood (as far as I know only Teres Audio uses this material in their turntables).
I began to study the qualities of different woods with three conditions in mind: density, robutsness and looking. I found, with the help of my friend Lluis, that the wood I need was called Bubinga. It was just what I needed: it was dense, very robust and beautiful.
But the bubinga woord it's expensive. Somebody told me that 1 cubic meter would cost me 4800 . After searching, I found that it was cheaper than that, but it was more expensive than expected.
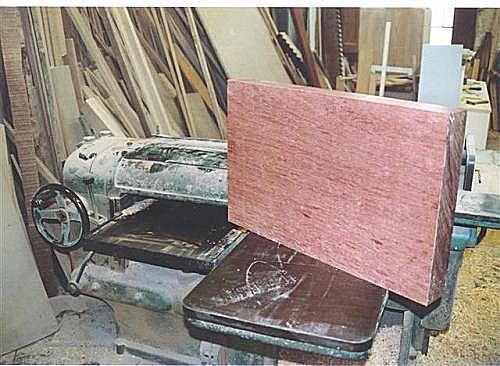
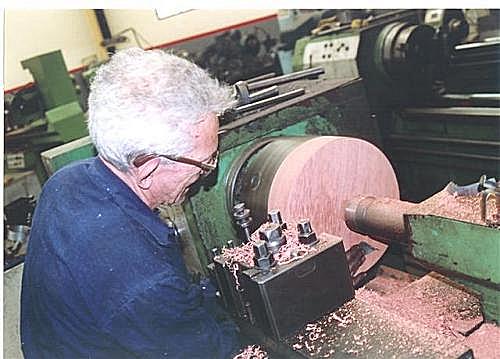
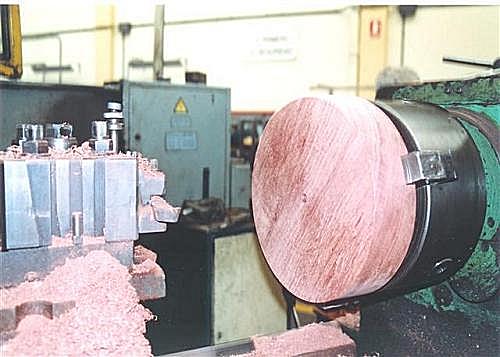
Next step was to find a piece of bubinga with the thickness required. I needed an 8 cm thick piece of wood to achive similar weight in the platter as if using steel. Usually bubinga wood pieces are 3-5 cm thick. Finding an 8 cm thick bubinga piece took me 1 and a half months and many phone calls, searchs in the yellow pages and many trips to wood stores around Barcelona.
The next question that came to my mind was, should I build all the turntable in wood? And I the answer and my decision was to use perpex to build everything else and stainless steel for the sipkes.
So after all I had all the material selected: bubinga wood for platter, perpex for all the rest and stainless stell for sipkes.
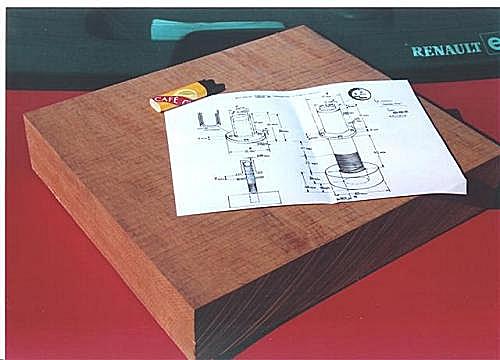
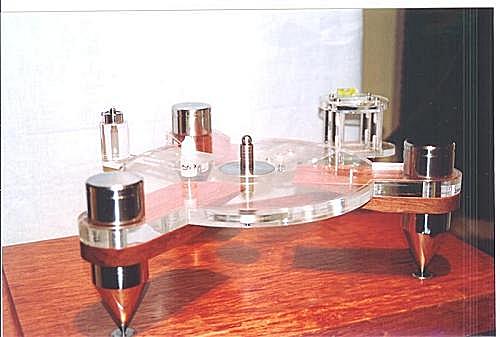
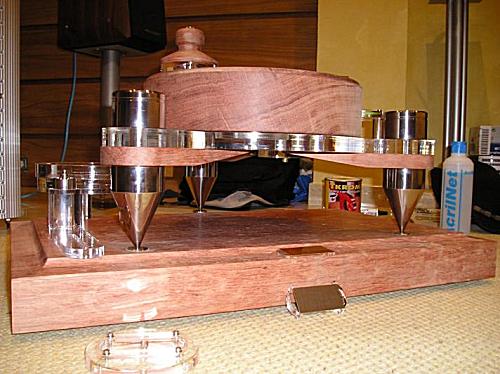
The design phase
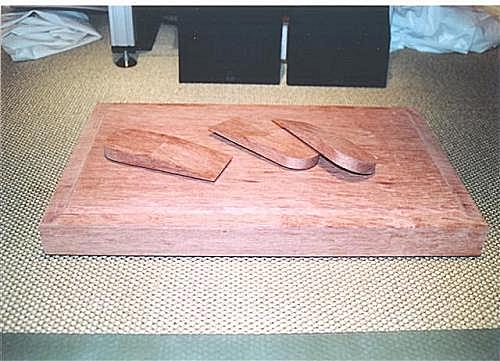
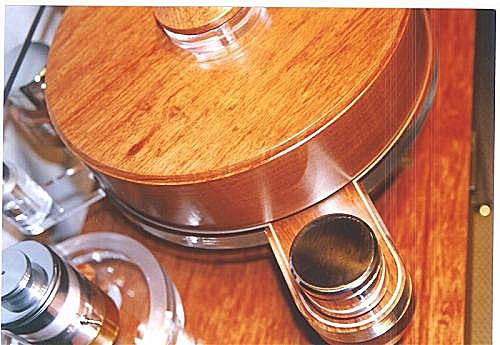
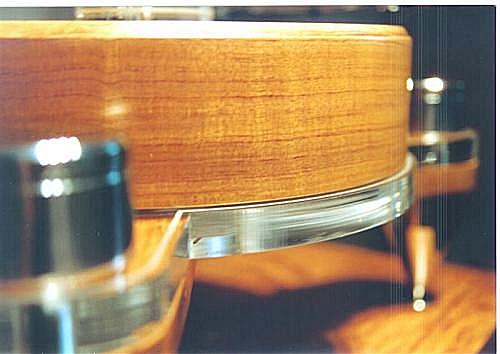
I was inspired to build my turntable by some of the Clearaudio models available, with their three decoupling spikes. Due to the width of the bubinga wood piece, that was 41 cm, I build a base of that size and also the outer diameter of the tunrtable (including the 3 decouplig spikes) has almost this size.
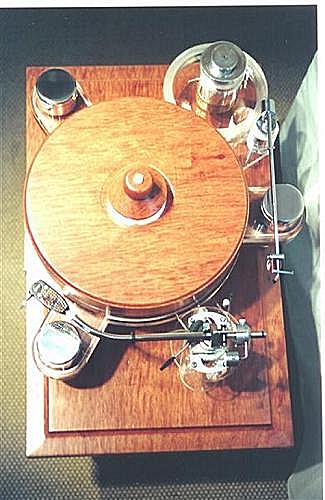
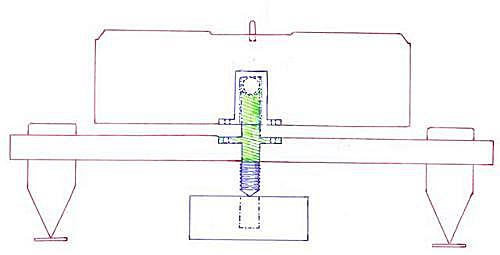
1- The spindle
After having decided the basic desing of the turnatble I focused in designing the spindle, the hearth of any turntable. Any spindle in any turntable has to have a very precise tolerances, I mean the physical space between the spindle and the place where it is fitted, the bearing well.
There're two main types of spindles: conventional and inverted. They work exactly in the same way but one is, as you can supose inverted. In theory an inverted spindle should have a better behaviour that a conventional spindle, mainly due the lower preassure that it has to support.
In fact the ideal inverted spindle should cross all the platter because in that way it would have a lower center of gravity. Some manufacturers, as the dutch SpJ or the german Acoustic Signature, also place in the outer part of the platter steel or brass cylinders to increase the total weight of the platter and to achieve a higher mass that allows a better start-up.
The ideal spindle should have a tolerance between 3-5 thousandths of milimeter. To get and idea of how precise is that you should know that the human hair is 400 thousandths of milimeter. In fact if we can achieve between 5-7 thousandths of milimeter we can be happy. Also the spindle should have a very hard end that fits exactly in the middle of the bearing well (made of the same material as the spindle to avoid wearing). But all these needs are very difficult to achieve so most of the turntable manufacturers use an spindle ended in a bearing and so they have a unique contact point.
Most manufacturers use a teflon bearing that is less resonant than steel. I have done some test and I haven't found any difference. I don't know if in a future after intensive listening test I woiuld change my mind.
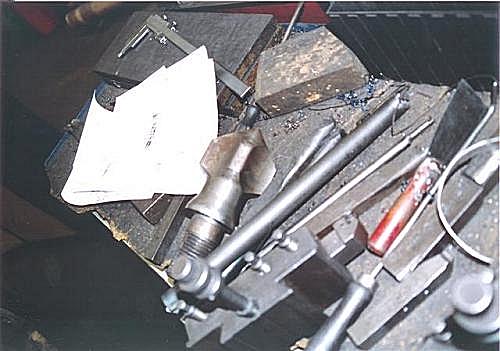
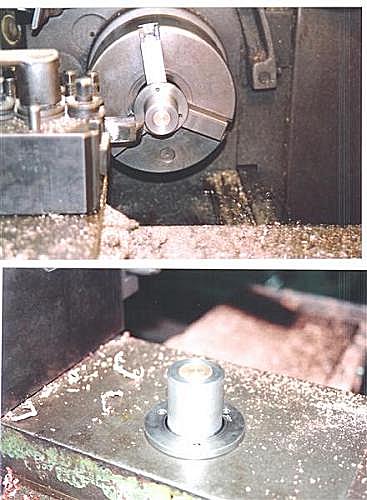
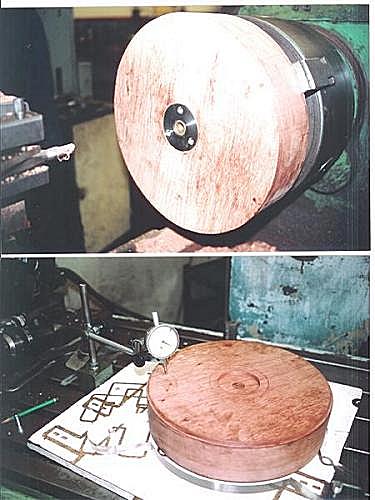
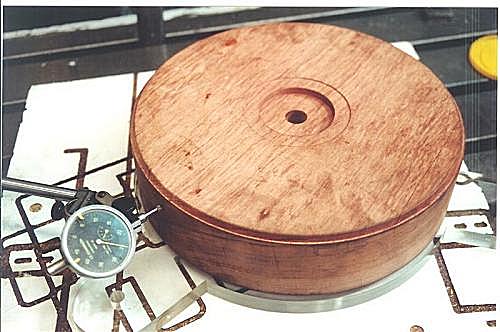
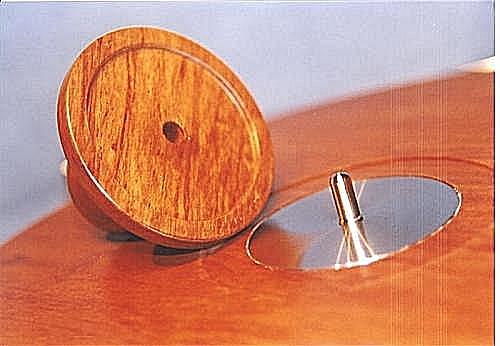
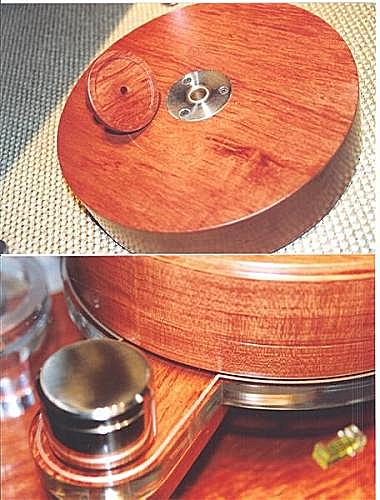
With all this information in my hands I finally chose to build an inverted spindle as long as the platter allowed me. In fact I have left only 1 cm for thew record spindle where vynils are placed for playing. This is mounted on a stainless steel base to avoid fitting this spindle directly into the wood.
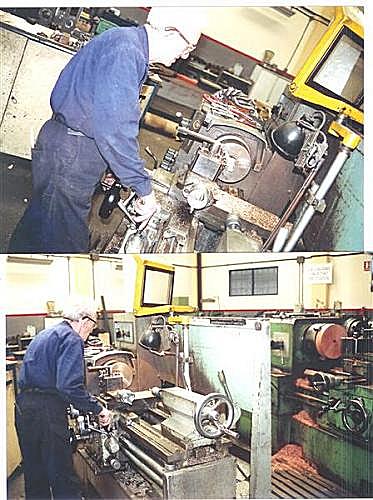
The spindle and the bearing well are made of stainless steel. The bearing well is also brass-covered to improve rotation and it is fitted in the 2 cm perpex base and it is fixed with allen bolts. I have used this type of bolts in all the turntable because they do a very find job fixing all the parts together (I have also used glover joints). The tolerance of the combo spindle-bearing well is 4,75 thousandths of milimeter. The specialist who made all the steel work refused a combo with worst tolerance. I must admit that both, this combo and the one that we finally used, looked the same to me.
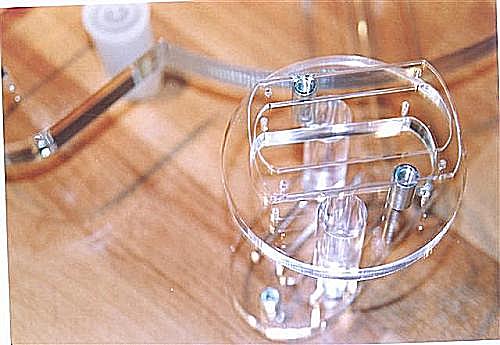
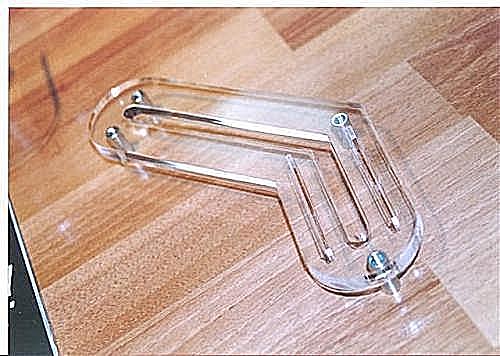
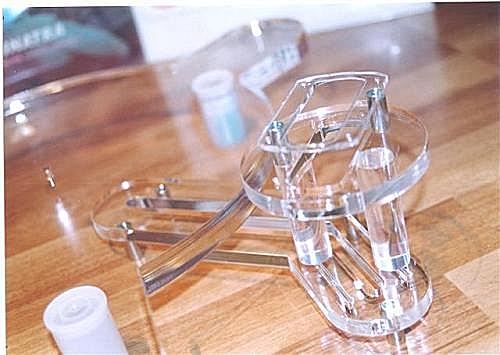
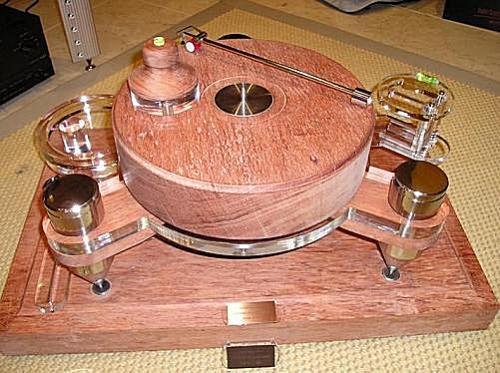
2- Tonearm base
The tonearm base is made of 1 cm thick perpex (see pics) with rails (also made in the sub-base) to allow mounting any tonearm. The base and sub-base are joined with four small perpex cylinders by means allen bolts. I considered other options but I finally chose this one to avoid excesive number of pieces and possible vibrations.
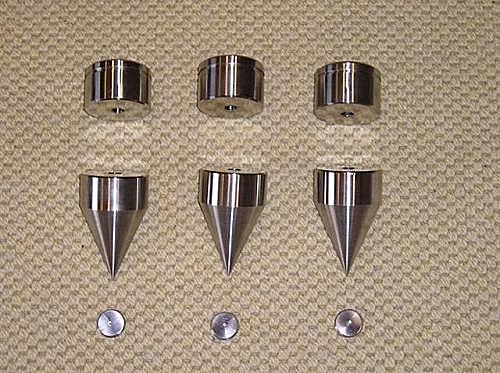
3- Decoupling spikes
Spikes and their bases are made of stainless steel. They weight 6 kg 100gr. The spikes were made by a friend of mine. Thanks, Lluis!
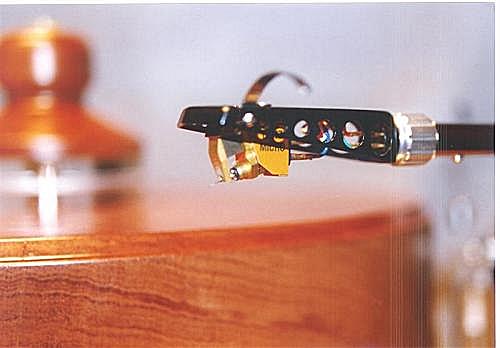
4- Tonearm and cartridge
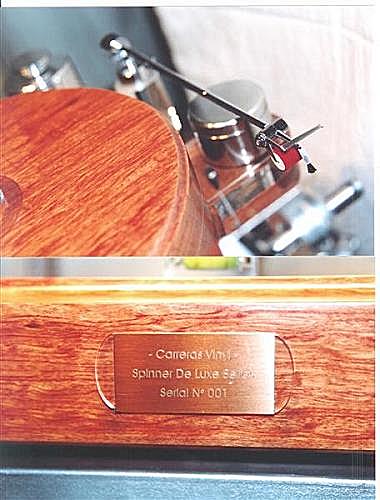
I'm going to use the tonearm and the cartridge that I have been using all these years in my old turntable, a SME-3009R MkII and a MC Benz-Micro Glider Low Output.
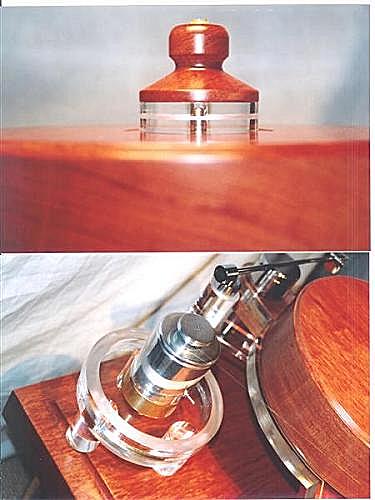
5- The motor
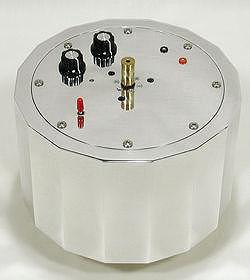
In the beginnig I decided to build my own motor with an encoder an speed control. But after 3 months of working in this project I felt tired and so I decided to buy one. The price of a comercial motor is higher but the we get warranty and we can be sure that it will work.
The motor selected had all the requirements needed: DC syncronous, with encoder, variable speed and separated power supply. In addition it is fitted inside a beautiful steel box. It is made by Scheu. If you decide to built your own motor you should know that there're many schematics in the net to do that.
The final budget
The total amount of money that I have needed to build my turntable has been:
Total amount of the project: 1555
These prices are only for information purposes, but very close to reality. For example the 700 of all metal works include R+D costs (almost half of the total amount is R+D). We repeated some processes, etc,etc. With all the things that I have learned building this project I must admit that all the metal work costs can be reduced to 300 . If you build your own motor I believe that the whole project could cost 1000-1200 .
I think that the final cost of my turntable is very good if we consider that now I can see my turntable perfectly finished and perfectly working. That's the reason why I encourage you to build your own DIY turntable.
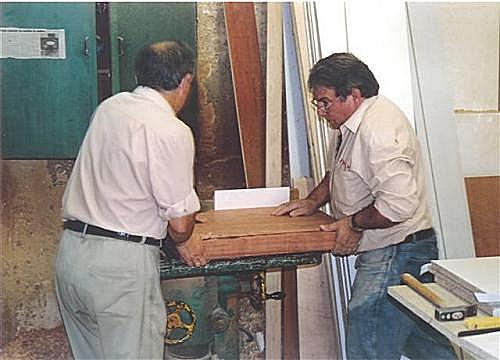
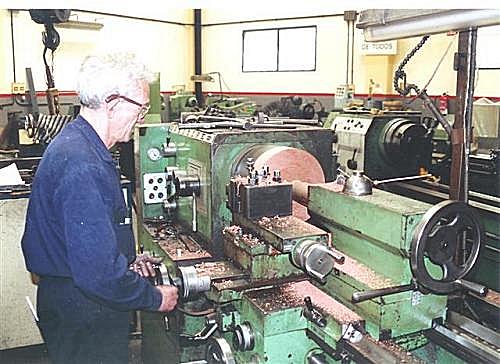
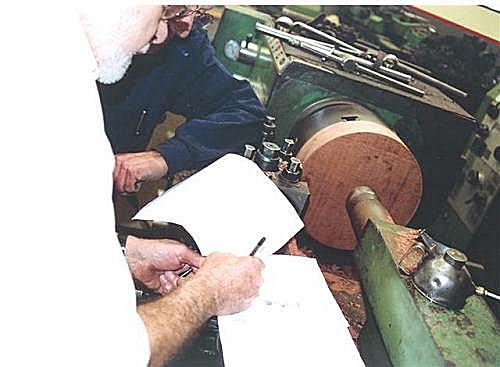
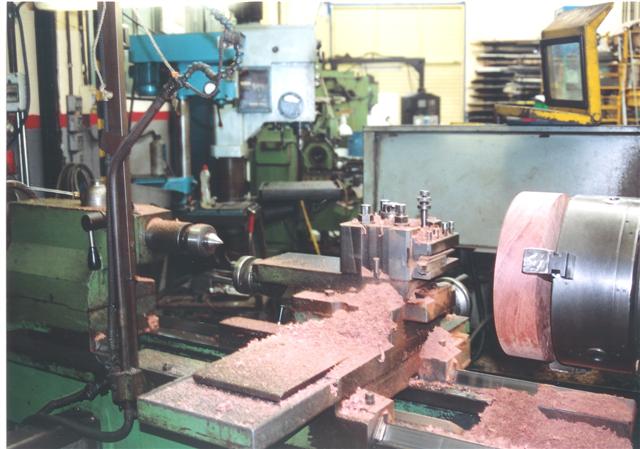
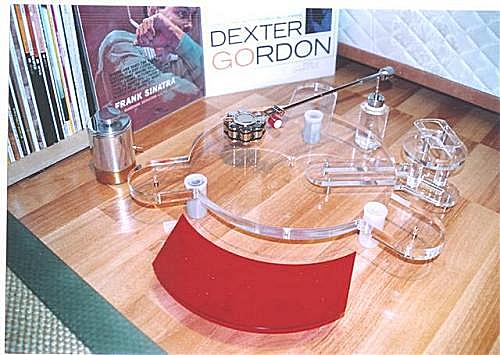
After all these explanations I'm showing you some pictures of the whole process. If you want to contact me to do any comment or to ask any question, please do it at mafius_hcd@hotmail.com.
Best regards!
Santiago Carreras